BIKE RACKS AND CARRIERS FOR CARS MEGATHREAD - all questions asked and answered here

ashes_mtb

Has preferences
What sort of lock does it come with? I have a fourtimer and I didnt think the hitch bolt and lock that goes over the end is that bad, unless you forget to lock it then drive off and lose it :rolleyes: . But if they really want to steal it there is nothing stopping you unbolting the pivot bolt and taking the rest of the carrier, so I guess safe for honest thieves only really.

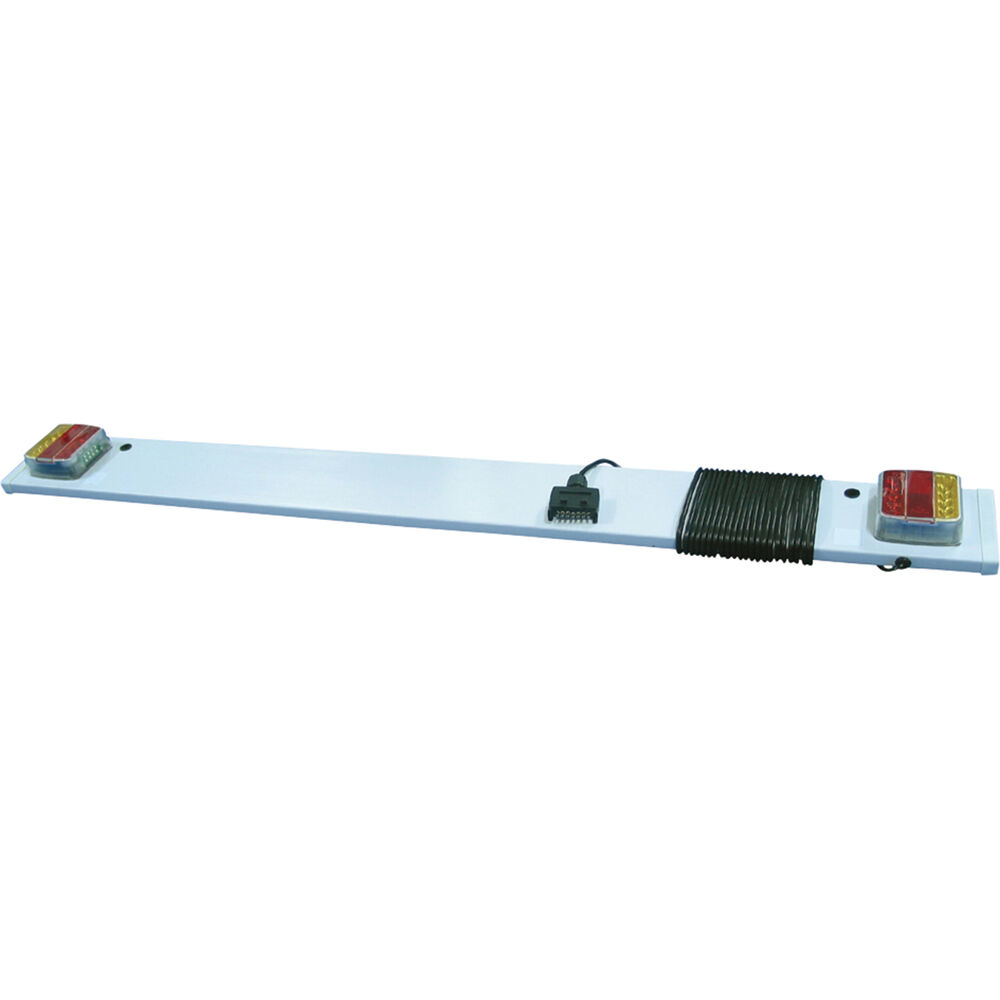
Light board, I don't remember paying that much for it but I bought one of these and cut it down to size.
Just noticed these light boards are currently 20% off for SCA Club members if anyone was after one. @johnny
 
Last edited:

Oddjob

Merry fucking Xmas to you assholes
So last night my wife suggests we should get a 6 bike upright rack. After asking her to slap me to make sure I'm awake, she confirms that we should get one to accommodate adventures with family and friends.

I can't be bothered going back over the last 2000+ posts, what should I get and why. Also it needs to have a wheeled storage option for the garage.

Sent from my M2012K11AG using Tapatalk
 

dirtdad

Wants to be special but is too shy
Also after wheeled storage for single trail rack in my garage. Any cheaper options than the $450 for a single trail stand?
 

Sheepie

Likes Bikes
So last night my wife suggests we should get a 6 bike upright rack. After asking her to slap me to make sure I'm awake, she confirms that we should get one to accommodate adventures with family and friends.

I can't be bothered going back over the last 2000+ posts, what should I get and why. Also it needs to have a wheeled storage option for the garage.

Sent from my M2012K11AG using Tapatalk
I’m obviously biased to ours, but what functionality is important to you? What sort of bikes will you be taking? Any of the well known Australian manufactured racks would do the job, a wheel stand is common to most.

AMB magazine did an unbiased comparison last year among a few of us (no money changed hands and we got our sample rack back after the test) https://www.ambmag.com.au/video/tested-amb-vertical-bike-rack-group-test-582273

Also after wheeled storage for single trail rack in my garage. Any cheaper options than the $450 for a single trail stand?
Our RRP is $300 :p
 

Oddjob

Merry fucking Xmas to you assholes
I’m obviously biased to ours, but what functionality is important to you? What sort of bikes will you be taking? Any of the well known Australian manufactured racks would do the job, a wheel stand is common to most.

AMB magazine did an unbiased comparison last year among a few of us (no money changed hands and we got our sample rack back after the test) https://www.ambmag.com.au/video/tested-amb-vertical-bike-rack-group-test-582273


Our RRP is $300 :p
I like the fact that you're on here. I'm assuming that you're a site supporter.

I need to transport BMX race bikes through to my monster Nicolai G1.
The carrying vehicle is a Land Rover Disco 4 so it has a square hitch but it's a Land Rover specific one so I don't know how that will affect installing U bolts.


I need to be able to lower the rack to access the tailgate.

It needs to have a garage storage option.

Sent from my M2012K11AG using Tapatalk
 

Sheepie

Likes Bikes
I like the fact that you're on here. I'm assuming that you're a site supporter.

I need to transport BMX race bikes through to my monster Nicolai G1.
The carrying vehicle is a Land Rover Disco 4 so it has a square hitch but it's a Land Rover specific one so I don't know how that will affect installing U bolts.


I need to be able to lower the rack to access the tailgate.

It needs to have a garage storage option.

Sent from my M2012K11AG using Tapatalk
I'm just the engineer here and I'm not going to try to sell you on ours specifically - at least not on here haha, you can email through if you want to talk specifics about our offering.

The U-bolt style anti-rattle will still work, but it doesn't have the contact area, from the ones I've seen, the cast seam was at the bottom and it tapered from each side. It still works it's just not as effective, in saying that with a 6 I'd recommend sway straps on any brand rack (bloody physics...).

With the range of bikes, you'll need a carrier that either has height adapters on the mid-rail (probably cleaner in your case) that can go up or down depending on the full range of bikes (speak to the specific manufacturers), or a second mini mid-rail (size dependent again on the bike range). You would also likely need an extended upright with that 1250mm wheelbase.

Most if not all on that list have a tilt option, however I (and likely the other manufacturers) would need a quick measurement to ensure it clears - I haven't had complaints but it's been a long time since I personally fitted a Disco so would want to confirm.

All the Aussie manufacturers have a wheel stand of some description or a fixed stand.

If it were me, I'd be talking to at least 3 or 4 on that AMB list and compare the offerings.
 

ozzybmx

taking a shit with my boobs out
Just make a trolley, I sold my last Singletrail with the trolley and made another for the new one.

The other one flexed when storing 4-5 bikes on it and wheeling them around the garage, so this one is 50mm x 25mm, 2.5mm box section.

Put 4 wheels on it and make it completely mobile. I wheel it over to the garage door and lift the rack from there. Stops hitting the door on the way out.

Takes less than a hour to put together and $60 worth of materials.

hgfjhjffhjfhjgfhjg.jpg
 

johnny

I'll tells ya!
Staff member
Electrical n00b question time:

I'm wiring up a DIY light board for my bike carrier - standard blinkers, tail and brake lights. But I"m also putting in a light for the number plate. I've never done anything like this before and I've watched a few youtube videos, none of which were filmed by professionals! So I was hoping to check a couple of things.

Blinkers are straight forward.
Brake lights (red), earth (white) and tail lights (brown) - I connect the left and right lights assemblies together with the single wires coming from the plug (using a connector), so all three wires are joined up. Correct?

The number plate light is the really confusing one - it has two wires coming from it, labelled positive and negative. How do I wire this in? I'm assuming it connects with the tail lights (brown), but I have no idea how.

Anyone know?
 

cokeonspecialtwodollars

Fartes of Portingale
Electrical n00b question time:

I'm wiring up a DIY light board for my bike carrier - standard blinkers, tail and brake lights. But I"m also putting in a light for the number plate. I've never done anything like this before and I've watched a few youtube videos, none of which were filmed by professionals! So I was hoping to check a couple of things.

Blinkers are straight forward.
Brake lights (red), earth (white) and tail lights (brown) - I connect the left and right lights assemblies together with the single wires coming from the plug (using a connector), so all three wires are joined up. Correct?

The number plate light is the really confusing one - it has two wires coming from it, labelled positive and negative. How do I wire this in? I'm assuming it connects with the tail lights (brown), but I have no idea how.

Anyone know?
From the number plate light connect positive to Brown and negative to White.
 

johnny

I'll tells ya!
Staff member
Right, so negative is another way of saying earth.

They sure as fuck could have coloured the wires a little more appropriately then! I was going to just connect white with white and brown with black! Lucky I didn't, could have reversed time and torn a whole in the matrix.
 

Haakon

has an accommodating arse
Electrical n00b question time:

I'm wiring up a DIY light board for my bike carrier - standard blinkers, tail and brake lights. But I"m also putting in a light for the number plate. I've never done anything like this before and I've watched a few youtube videos, none of which were filmed by professionals! So I was hoping to check a couple of things.

Blinkers are straight forward.
Brake lights (red), earth (white) and tail lights (brown) - I connect the left and right lights assemblies together with the single wires coming from the plug (using a connector), so all three wires are joined up. Correct?

The number plate light is the really confusing one - it has two wires coming from it, labelled positive and negative. How do I wire this in? I'm assuming it connects with the tail lights (brown), but I have no idea how.

Anyone know?
I just did this again as i smashed one of my lights...

Its a bit of faff, but i ended up with a clump of connections in one place on the version 1. The 5 core cable in with;

Earth (white) spliced onto earth feed for the both lights and the number plate ligjt
Tail (brown) spliced onto tail feed for both lights and the number plate light
Stop (red) spliced onto both lights
Left (yellow) goes to one light and
Right (green) goes to the other.

I made all these connections on one side and ran and extender cable to the opposite side light. Sealed up the collection of connections (heat shrinked crimps) with a bigger tube of heat shrink). Version 2.0 I made a clump of three cables intersection and tapped into the crossover cable to get a tail/earth feed for the number plate light.

I use open brass crimp connectors, but you need crimping tool. You could solder them, but i hate soldering and its not good practice to use it to connect cables in a high vibration environment.

I need a tidier solution to tape for securing it all to the rack though…
IMG_4710.jpeg
 
Last edited:

johnny

I'll tells ya!
Staff member
I just did this again as i smashed one of my lights...

Its a bit of faff, but i ended up with a clump of connections in one place on the version 1. The 5 core cable in with;

Earth (white) spliced onto earth feed for the both lights and the number plate ligjt
Tail (brown) spliced onto tail feed for both lights and the number plate light
Stop (red) spliced onto both lights
Left (yellow) goes to one light and
Right (green) goes to the other.

I made all these connections on one side and ran and extender cable to the opposite side light. Sealed up the collection of connections (heat shrinked crimps) with a bigger tube of heat shrink). Version 2.0 I made a clump of three cables intersection and tapped into the crossover cable to get a tail/earth feed for the number plate light.

I use open brass crimp connectors, but you need crimping tool. You could solder them, but i hate soldering and its not good practice to use it to connect cables in a high vibration environment.

I need a tidier solution to tape for securing it all to the rack though…View attachment 402166
YEs, I think I'm going to aim for a central clump connected to the light board. I'm about to go into Jaycar (god bless TOIL!) to have a look at the kind of connectors they have. My concerns will be waterproofing and tidiness.

The other thoughts is what I actually mount it too. I'd like some 1-2mm aluminium for weight and durability, but I'm also concerned with it scratching the paint of the carrier. I'd also go wood, but then I have concerns about durability. I suppose I could put clear finish on it as well.
 

Haakon

has an accommodating arse
YEs, I think I'm going to aim for a central clump connected to the light board. I'm about to go into Jaycar (god bless TOIL!) to have a look at the kind of connectors they have. My concerns will be waterproofing and tidiness.

The other thoughts is what I actually mount it too. I'd like some 1-2mm aluminium for weight and durability, but I'm also concerned with it scratching the paint of the carrier. I'd also go wood, but then I have concerns about durability. I suppose I could put clear finish on it as well.
Heat shrink over whatever you use as connectors will be the best thing to waterproof them. Especially the one with the glue that melts and seals.

I had the number plate on a small bracket with the light attached directly to the plate - that looked neat, but wasnt remotely strong enough and the plate got beat up and bent. Version 2.0 ive gone for a bit of plywood - will see how long that lasts!
 

Dales Cannon

lightbrain about 4pm
Staff member
YEs, I think I'm going to aim for a central clump connected to the light board. I'm about to go into Jaycar (god bless TOIL!) to have a look at the kind of connectors they have. My concerns will be waterproofing and tidiness.

The other thoughts is what I actually mount it too. I'd like some 1-2mm aluminium for weight and durability, but I'm also concerned with it scratching the paint of the carrier. I'd also go wood, but then I have concerns about durability. I suppose I could put clear finish on it as well.
You can get waterproof junction boxes for bugger all.
 
Top